Step 1: Integrate the channel into linnworks.net
To use linio channel, you must first install it from within linnworks.net.
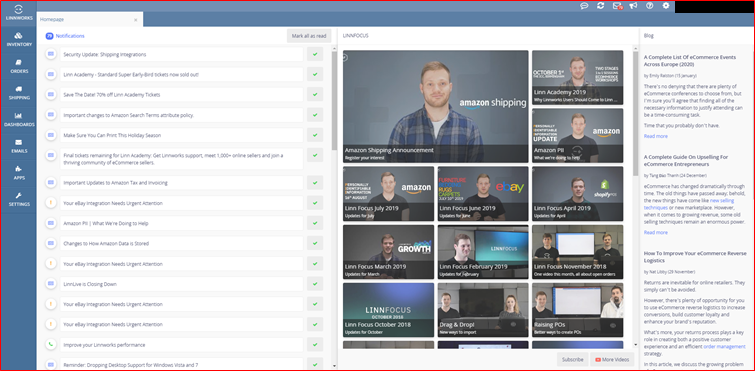
- Login to linnworks.net
- Select settings in the left-hand menu bar
- Settings in channel integration option used
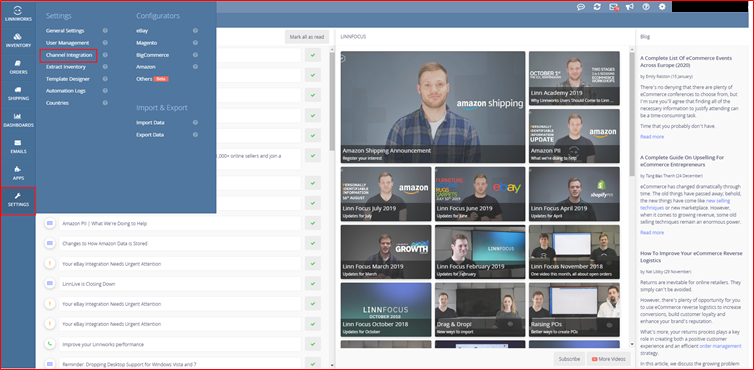
- Select the channel integration option. Screen will be display below:
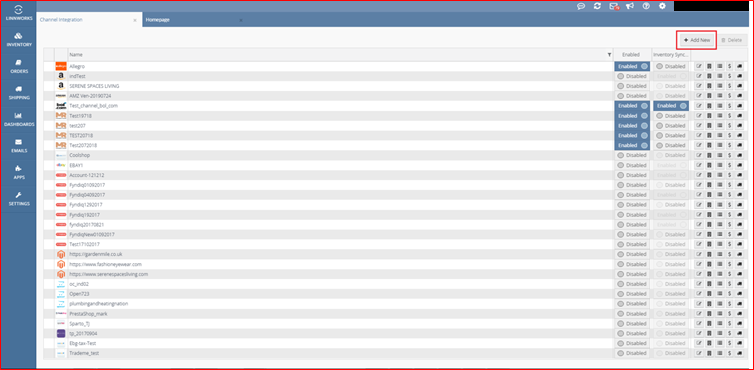

- By clicking on this button we can add new linio channel integration.
- Select add new to return a list of available channel integrations. Screen will be display below:
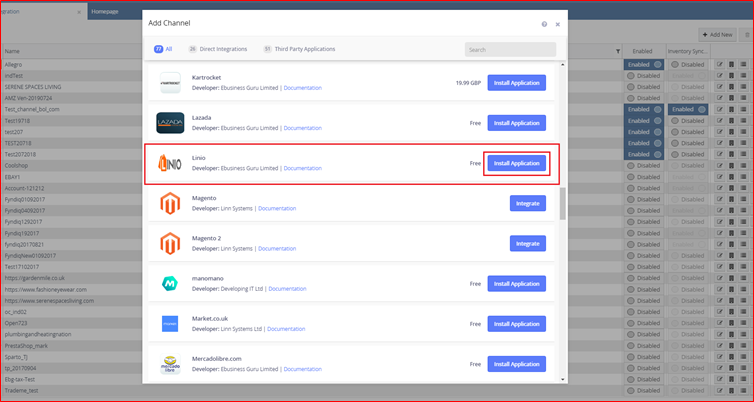
- Locate linio on the list, and click on install application button.
- Check application store in channel install. Screen will be display below:
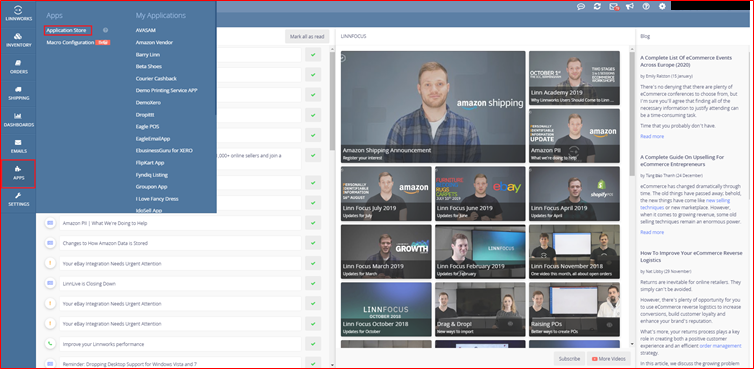

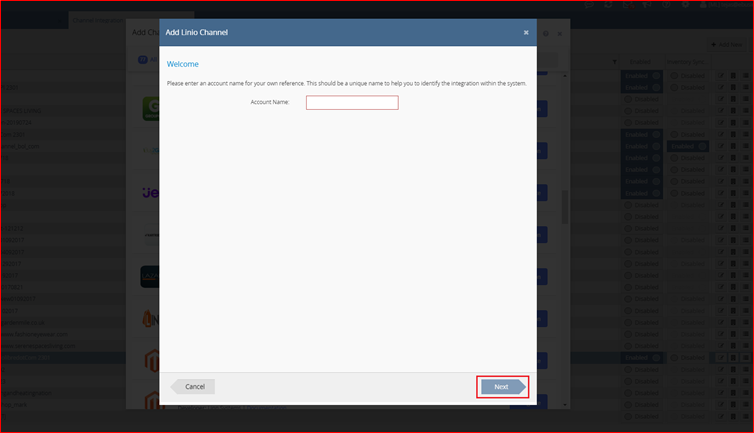
- By clicking on this button we can create linio channel integration. Screen will be display below:

- Enter your linio account name to start the actual integration. And then click on next button for the next step.
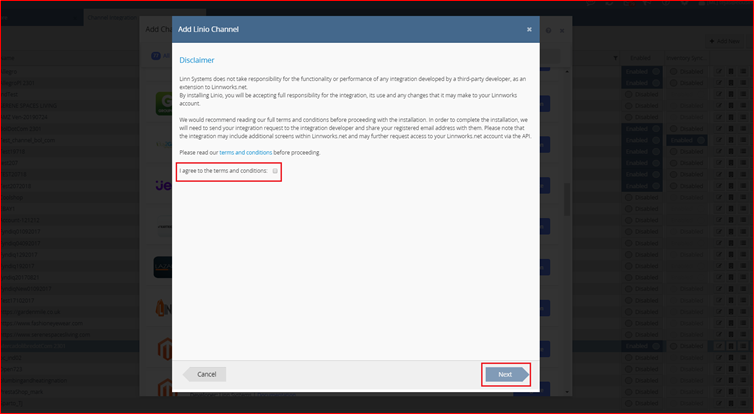
- After reading the disclaimer, please tick ‘I agree to the terms and conditions’ and next to continue integrating linio channel.
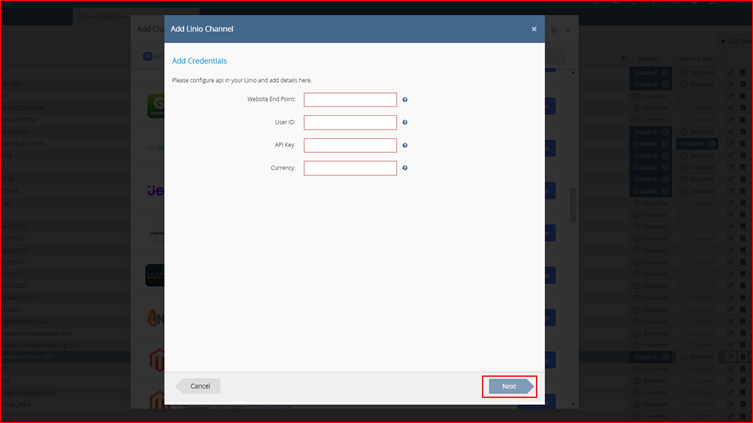
- Fill the all details for linio channel. And then click on next button for the next step.
- Website end point: Enter your channel website end point url.
- For ex. – https://sellercenter-api.linio.com.mx/

- User id: Enter your channel user id.

- Api key: Enter your channel api key.

- Currency: Enter your channel currency.

- User gets api key process step by step following display. Screen will be display below:
- Go to open url this link – https://sellercenter.linio.com.mx/
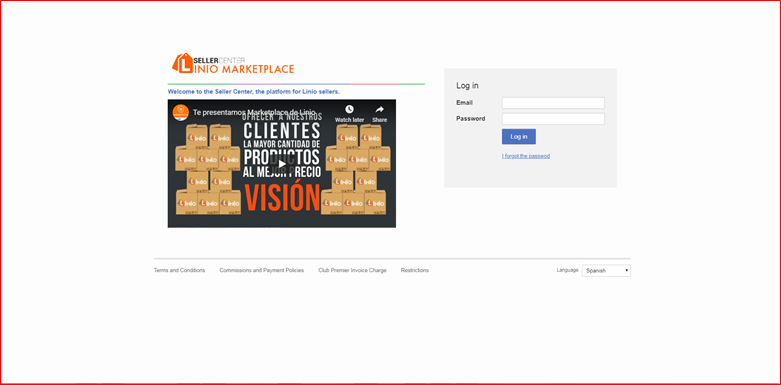
- Enter your channel login details email id or password then login in button click to home screen will be display below:
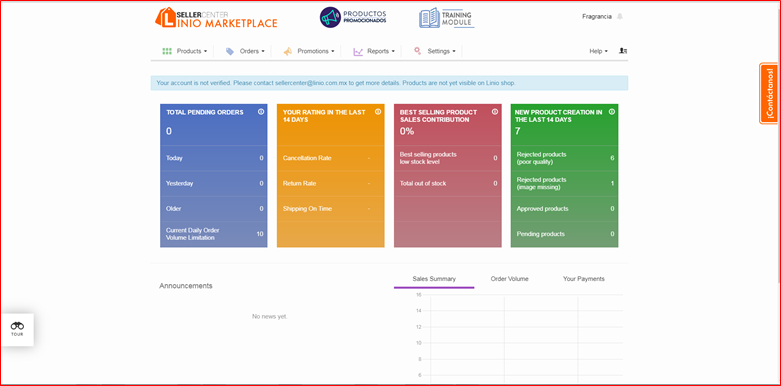
- Next step in settings menu in manage user option click to screen will be display below:
- Settings → manage user option.
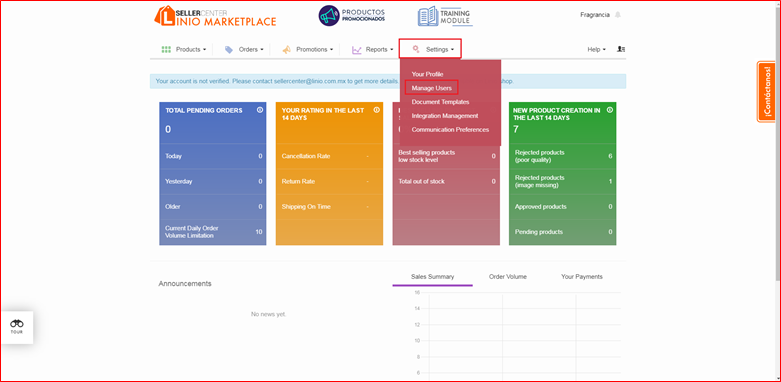
- Users screen will be display in api key display below:
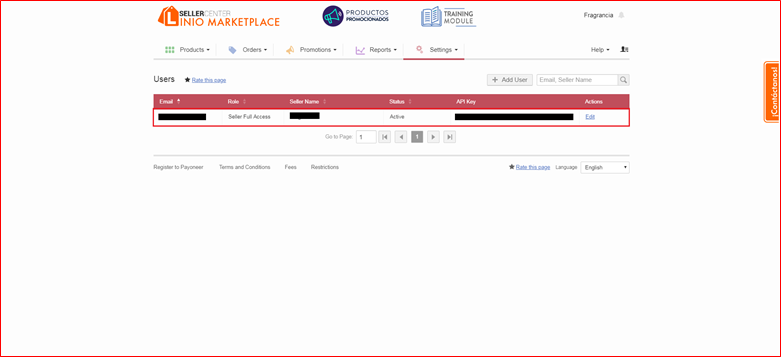
- More than one user enters process screen will be display below:

- By clicking on this button we can create new user. Screen will be display below:
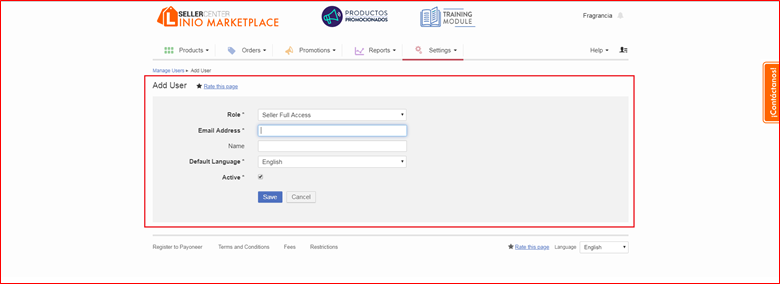
- Role: Select your option in role field.
- Email address: Enter your email address id.
- Name: Enter your name.
- Default language: Select your default language.
- Active: Check active or not.
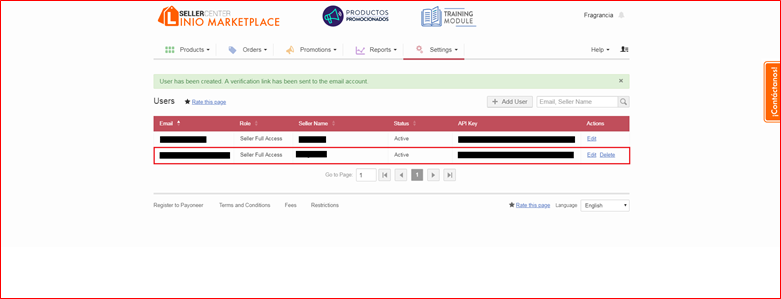
- Then save button click to all process save and display users page in details, screen will be display below:
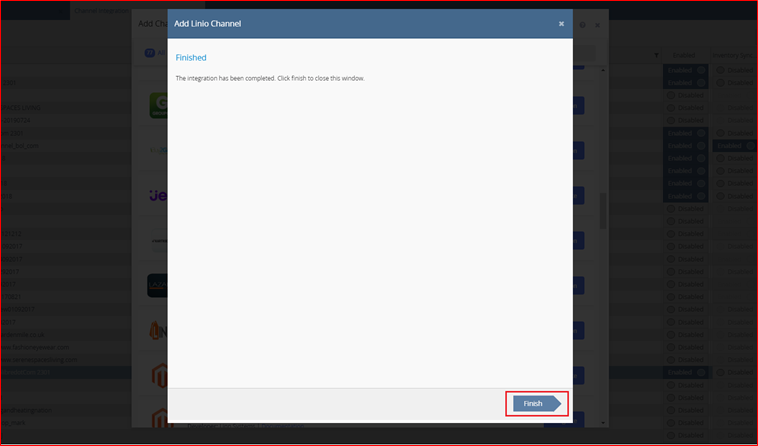
- Finish button click to all process complete in your channel integrated.
- Linio channel integration process step all completed then finish button click to save all details.
- To complete the integration, your linio integration should now show in linnworks.net channel integrations.
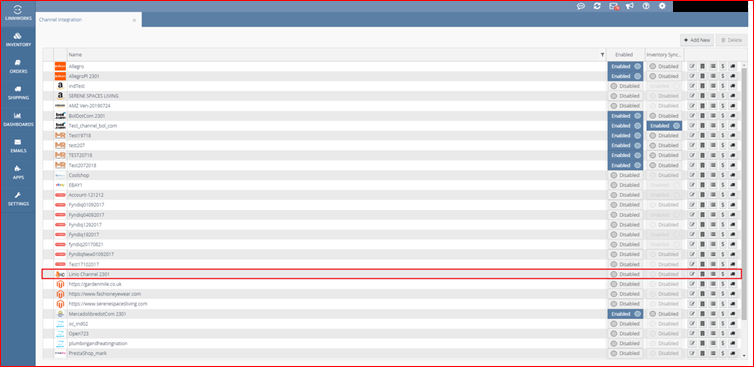

- By clicking on this toggle button we can enable this channel and start to enable integration. Screen will be display below:
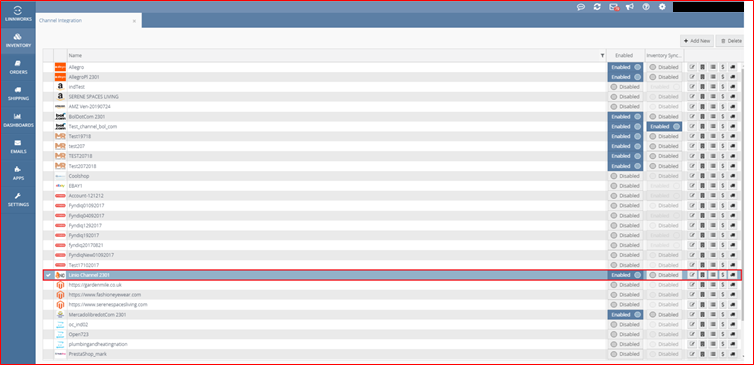

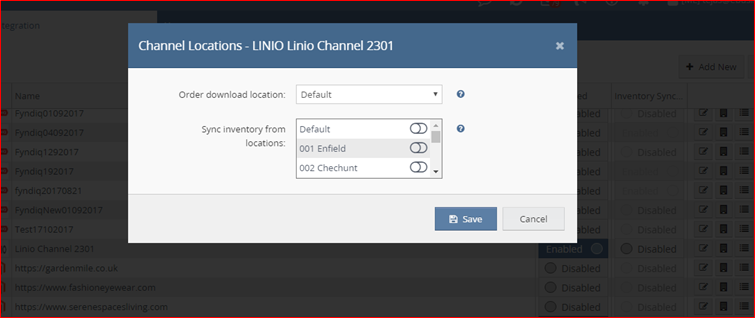
- By clicking on this icon we can channel locations screen will be display below:
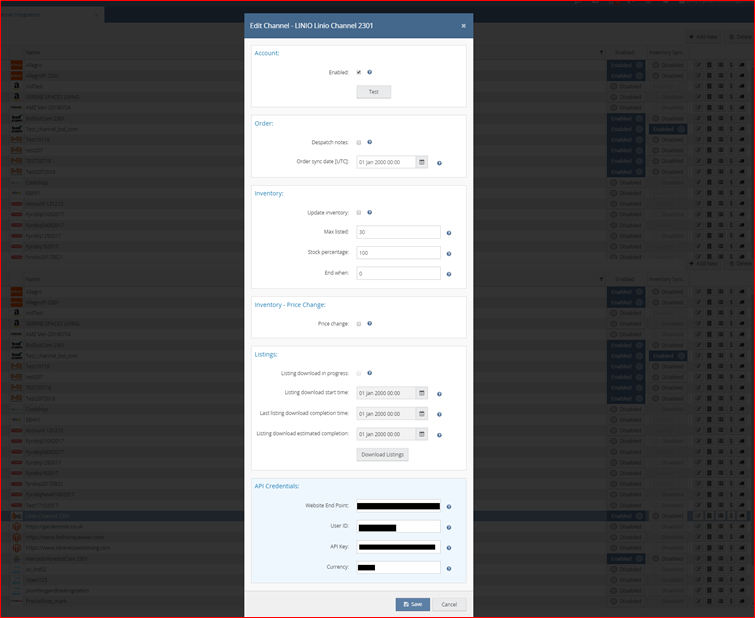

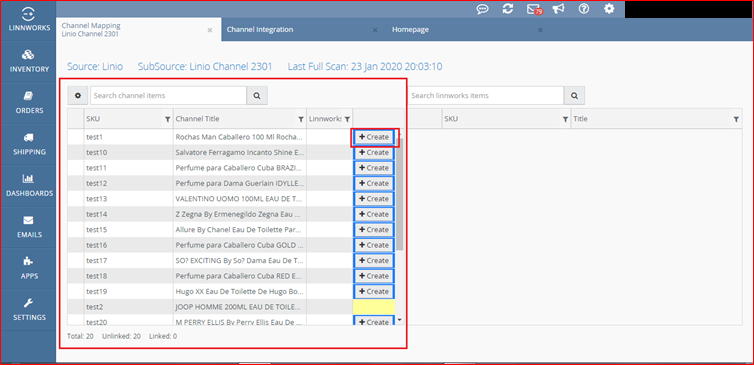
- By clicking on this icon we can inventory mapping screen will be display below:

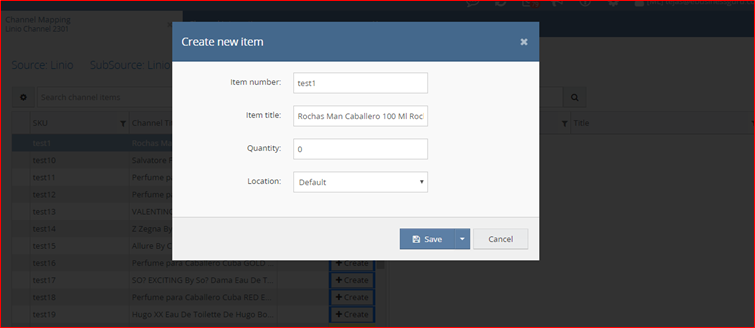
- By clicking on this icon we can create button click to popup open screen will be display below:

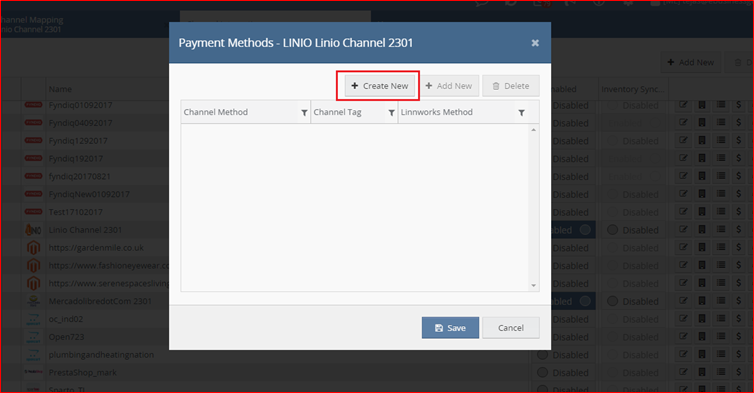
- By clicking on this icon we can edit payment methods screen will be display below:

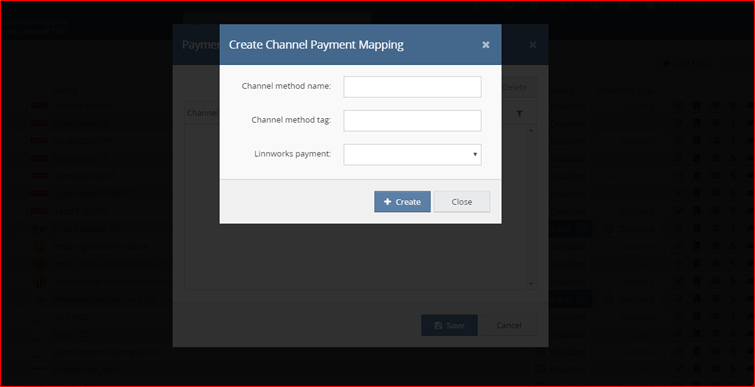
- By clicking on this button we can create new channel payment mapping screen will be display below:

- By clicking on this icon we can edit shipping allocation screen will be display below:

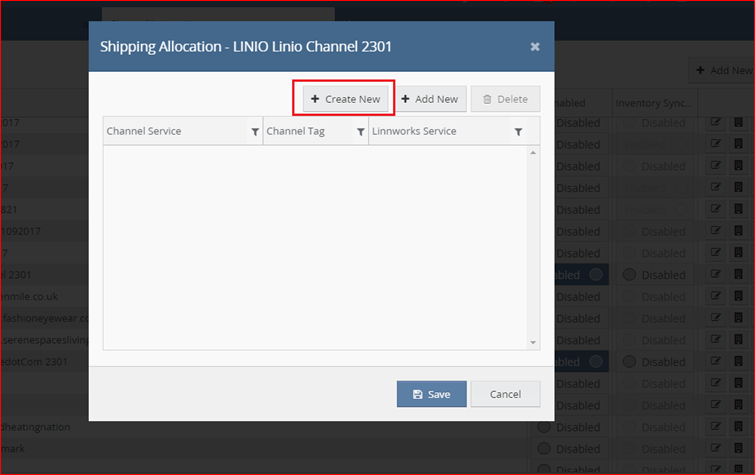
- By clicking on this button we can create channel shipping service screen will be display below:
